Flutter ML Kit FaceMesh Real-Time Face Detection Example
A runnable example is the best documentation.
I believe a runnable example is the best documentation, so this post also comes with an example repository.
What is ML Kit?
https://developers.google.com/ml-kit/guides
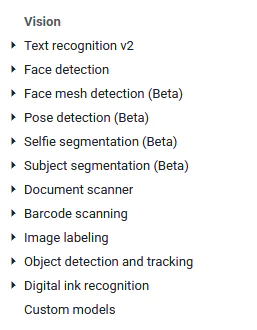
ML Kit is a mobile SDK that brings Google’s on-device machine learning expertise to Android and iOS apps
ML Kit is an SDK that abstracts Google’s pretrained AI models so they can be used directly in an app’s on-device environment.
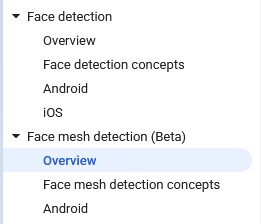
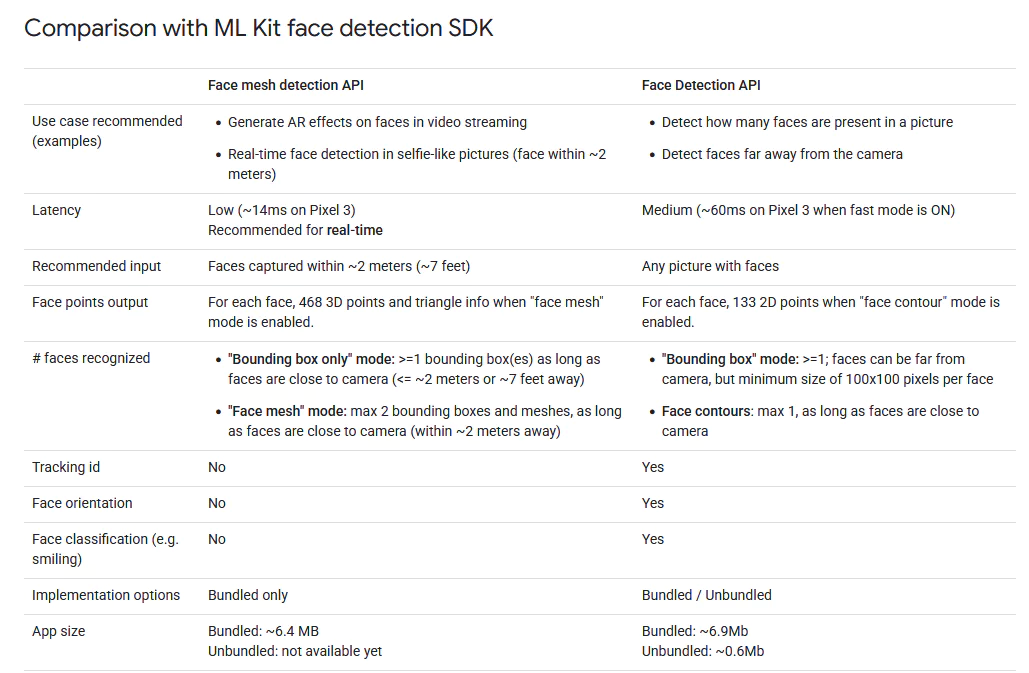
For face detection, there are two models available. I’d recommend reading through the docs for the detailed differences.
Note) Face mesh detection is only supported on Android.
ML Kit vs MediaPipe Comparison
Google offers both ML Kit and MediaPipe.
If you need to support platforms beyond mobile apps, or if your work includes ML backend development, MediaPipe is the way to go.
If your main goal is building a service within an app and you’re fine using the provided models as-is, ML Kit is simpler.
Face Mesh Model Comparison
The default MediaPipe face mesh model (excluding the iris) has 468 landmark points.
ML Kit’s face mesh also has 468 landmark points.
Both ML Kit and MediaPipe are developed by Google teams, and they appear to use the same face mesh model (the results look similar too).
Flutter ML Kit FaceMesh Real-Time Face Detection
In this example, we use ML Kit’s face mesh detection in Flutter.
https://pub.dev/packages/google_mlkit_face_mesh_detection
Since it’s a Flutter plugin that packages native Android code using ML Kit, it only supports Android, just like ML Kit itself.
Example Repository
https://github.com/cornpip/flutter_mlkit_facemesh_example
https://github.com/cornpip/flutter_mlkit_facemesh_example/releases
You can also download the APK from the release page.
Usage
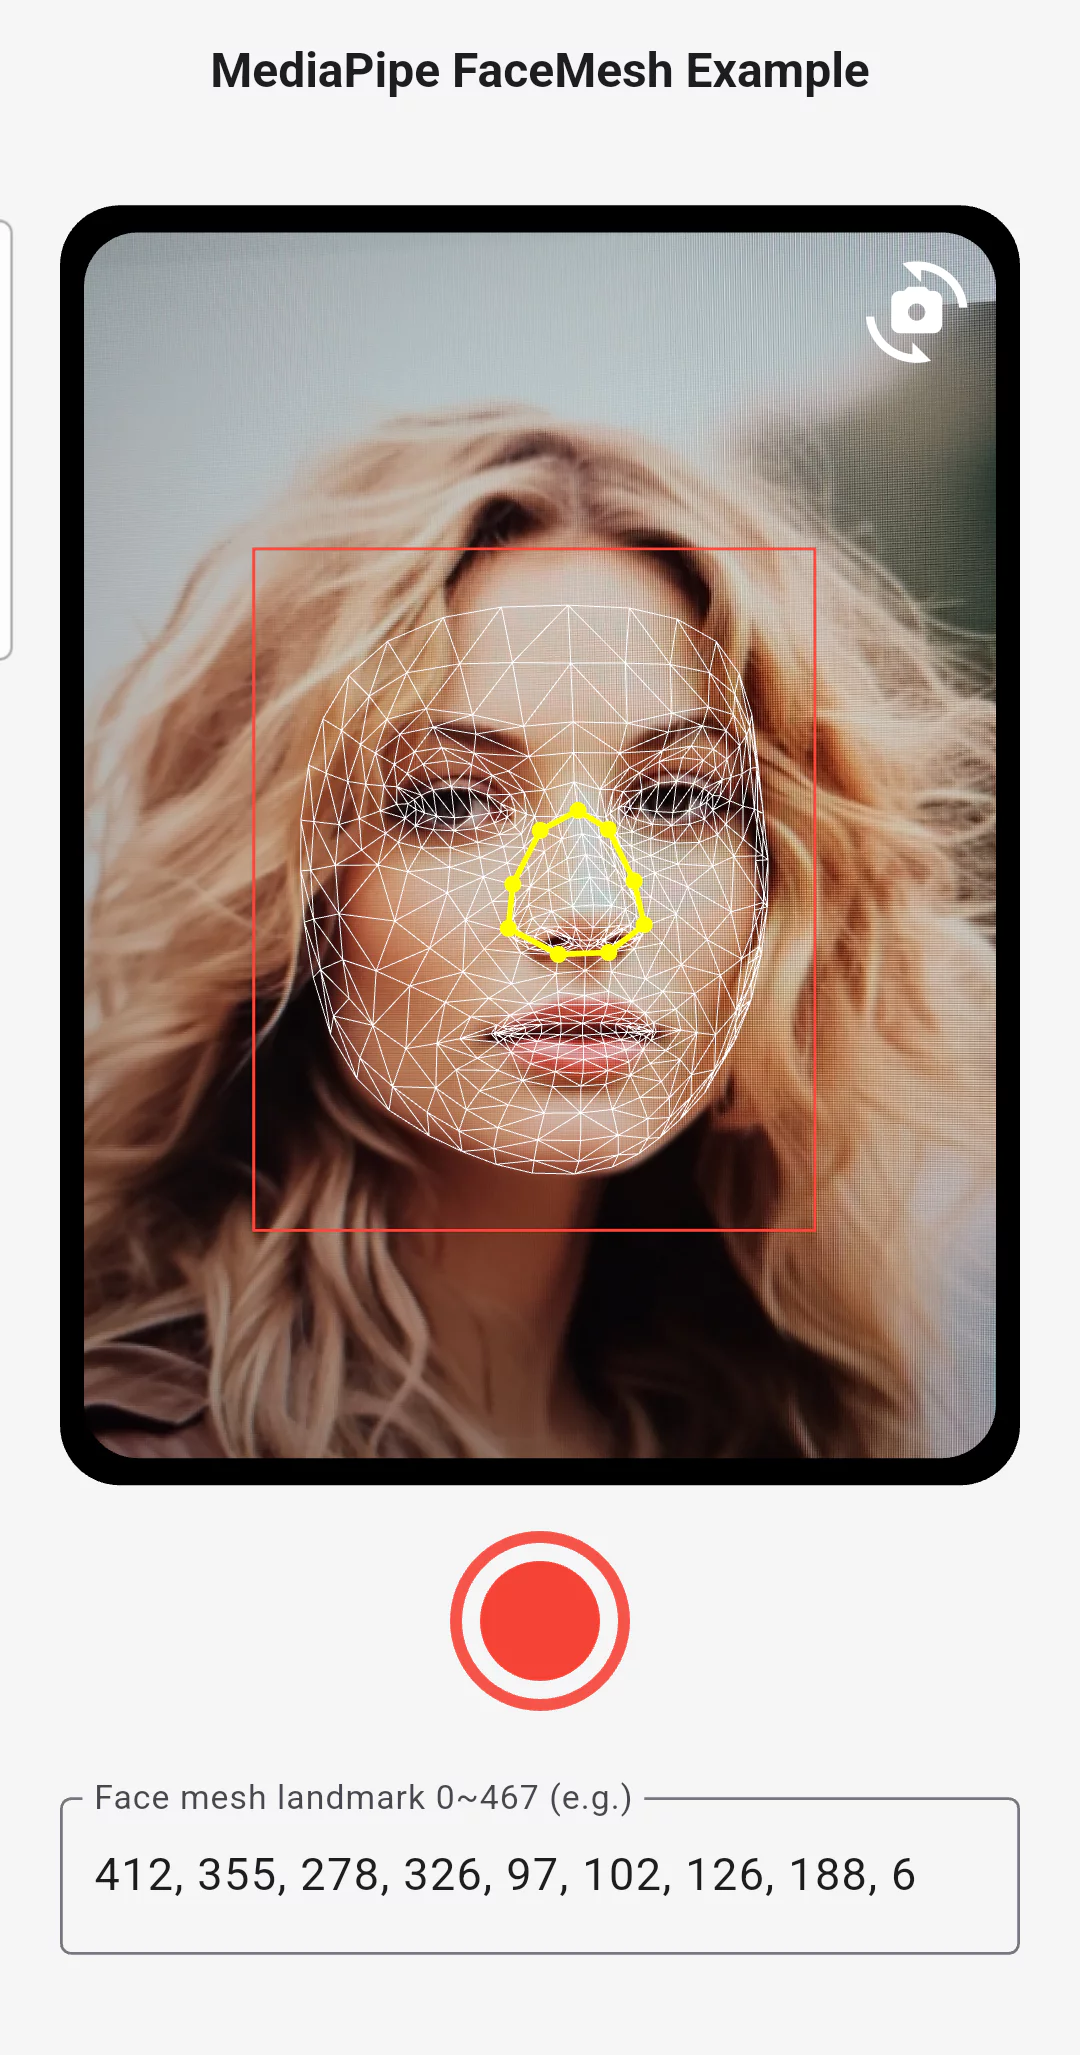 image_1
- Tap the capture button to turn on the camera; face mesh detection runs and you can see the results in real time.
- Enter landmark numbers into the face mesh landmark text field, and lines will be drawn connecting those landmarks.
If you need face mesh functionality, it’s likely for a service that uses specific parts of the face, and you can get the position you want using landmark numbers.
However, finding the number or position you want in the face mesh landmark image is difficult, since the numbers aren’t sequential and there’s a lot of overlap along the z-axis.
For cases like this, you can use the face landmark 3D viewer site I built previously.
MediaPipe Face Landmark 3D Viewer Link
2025.08.28 - [Side Project] - MediaPipe Face Landmark 3D Viewer
For example, what if you need the nose area like in image_1?
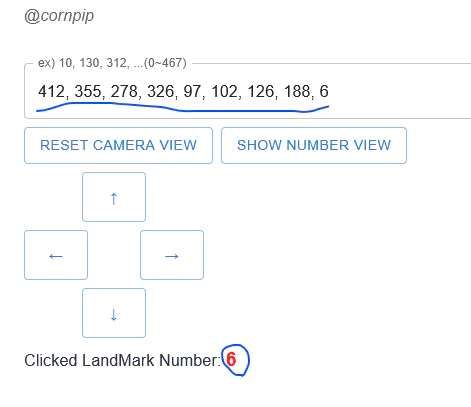
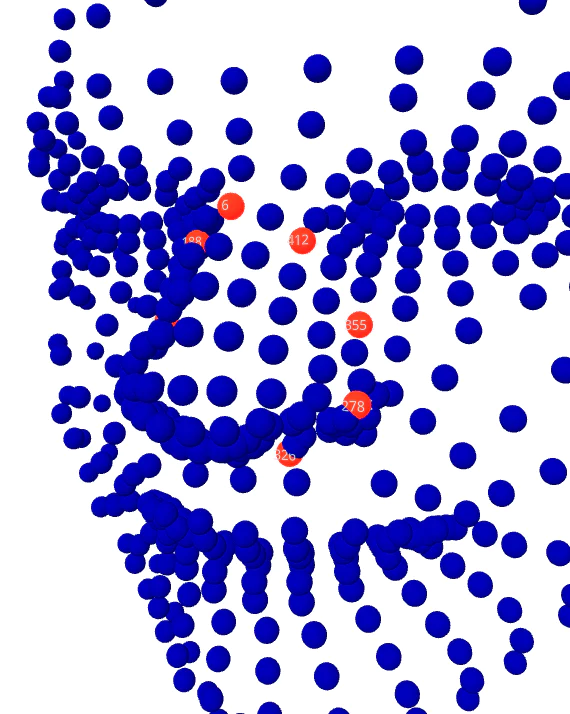
- Click one of the blue spheres surrounding the nose. The clicked landmark number appears in the left panel.
- Enter the number you found into the text field.
- Repeat steps 1 and 2, checking whether the red spheres form the polygon you want.
Development Notes
Coordinate and Type Conversion
For coordinate conversion, I referenced coordinates_translator.dart from the example below.
https://github.com/flutter-ml/google_ml_kit_flutter/tree/master/packages/example
For the CameraImage -> InputImage conversion, I referenced the guide below.
bytes -> InputImage
bitmap -> InputImage
file -> InputImage
My memory’s a bit hazy on this… none of them worked well. Even when the conversion succeeded, the inference results using that InputImage were off.